Our Fiber Junkies group met a couple of weeks ago for a fun day of shave cream playing. My hands felt so clean and smelt so good at the end of the day...but more on that later. We begin our day with Show and Tell....our very prolific and accomplished Denny has been sewing round the clock. The following quilts are all her quilt tops, each one more beautiful than the one before.
I think she said she does it all by machine and her skills are spot on.
This is perhaps the most subtle in coloring but I've always loved monochromatic and especially when done in blue. They are all my fave but this one maybe a tad more.

And I love this one with the amazing and very unique border.
Gen has been working a lot with pen and ink, coloring motifs for her wonderful journals.

So onto our technique for the day - playing with shave cream - To start, use ordinary shave cream....when I did this years ago I was told to use Colgate...I have no idea why but the generic above left seemed to work fine. You'll also need a large, shallow tray. You can see Denny has filled her tray almost to the top and is spreading it around. This part feels really good and gushy...really makes you feel like a kid again.
Someone brought shave cream with gel which didn't work well but good to find that out.
You'll also need textile paint or a craft paint and textile medium to add to to. There is no batching, although probably good to let it set a while. I brought Createx air brush colors which I use for marbling and have good success. Dye-na-Flow or Jacquard paints work well also. Gen's big box of paints she received for Christmas one year is enviable.

Paints were dropped on the surface...you can see the thinner ones tended to expand a little more.
Using various kinds of stylus's, patterns were created on top.

Sue's husband Wally who is so handy (and built all the shelving units in her huge studio) made one of these for each of us...They were great and created the kind of patterning you see on the right.
Susan created this lovely piece using a stencil.
Here is Denny doing her usual experimenting, always opening up doors for new ways to do things. Some more stenciled pieces featured.

These have become Denny's trademark, cutting out silhouettes in magazines to use as a mask or printing tool. I think they are so unique and so Denny.
So our clever Gen brought some Lumiere paint which is my favorite - very thick and metallic with great results.

and painted
globs of paint on a piece of glass (left), took another piece of glass to lay on top to create the veining (right) and then printed it off by laying
a piece of paper (Gen likes printed papers for more interest) on top OR
a piece of fabric...both great results!
A productive day...
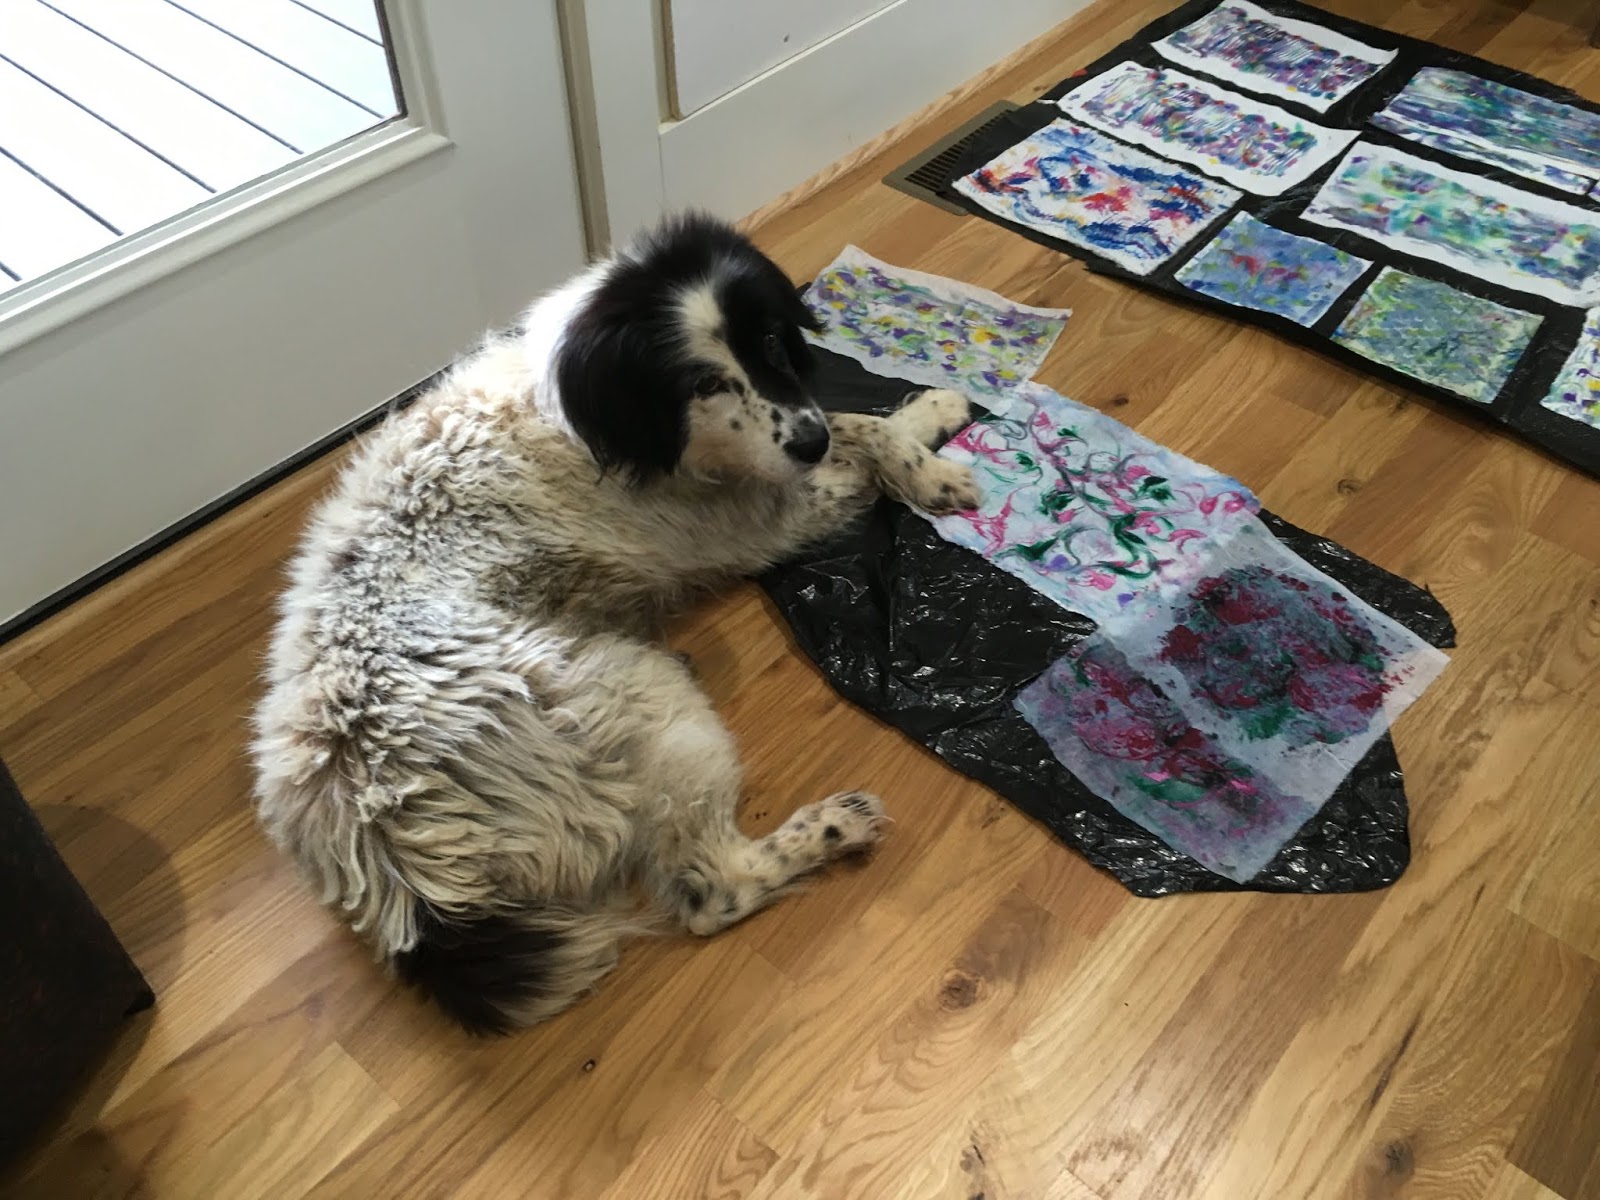
and our 2 sweet doggies who loved being with us and guarding our work.
So the results....I couldn't get to washing them out for weeks...holiday busy stuff so just got to it. For me, some work and some do not. I think because the fabric is laying on paint which is laying on shave cream, there is not as much permeation of the paint into fabric. The sheers seem to be more successful which makes sense - sheers will absorb faster as they are thinner and don't require as much paint. But subtle is okay too, makes a nice backdrop or filler...
So would I do this again...maybe....a little more experimenting might be in the cards.


