I finally turned on my heat press and started to play........I have to admit I was a bit nervous at first although it's incredibly simple to use..honestly..... an off/on switch, a button for temp and one for time and that's it. I guess the high heat it produces was a bit intimidating.
I know when I used to make bundles and boil them, many plants did not work so I really didn't know how the heat press would react. I used the leaves I knew worked and then took a walk along the road and just started cutting everything in sight......and...... everything seemed to work.
This first time around, I wanted to try different substrates to see what weights and finishes of paper would be better..no fabric this time. The very top photo is the before and after; left side shows the leaves laid down and on the right, the finished print..these were done on gloss photo paper. I was amazed that the photo paper did so well..above the gloss on the left, on the right -an old unsuccessful print I printed over..still bad!
On the left is Sumac which always prints beautifully, some Smoke plant leaves and cornsilk. On the right, the printed piece. The cornsilk didn't work but it will be a great resist...to be shown later.
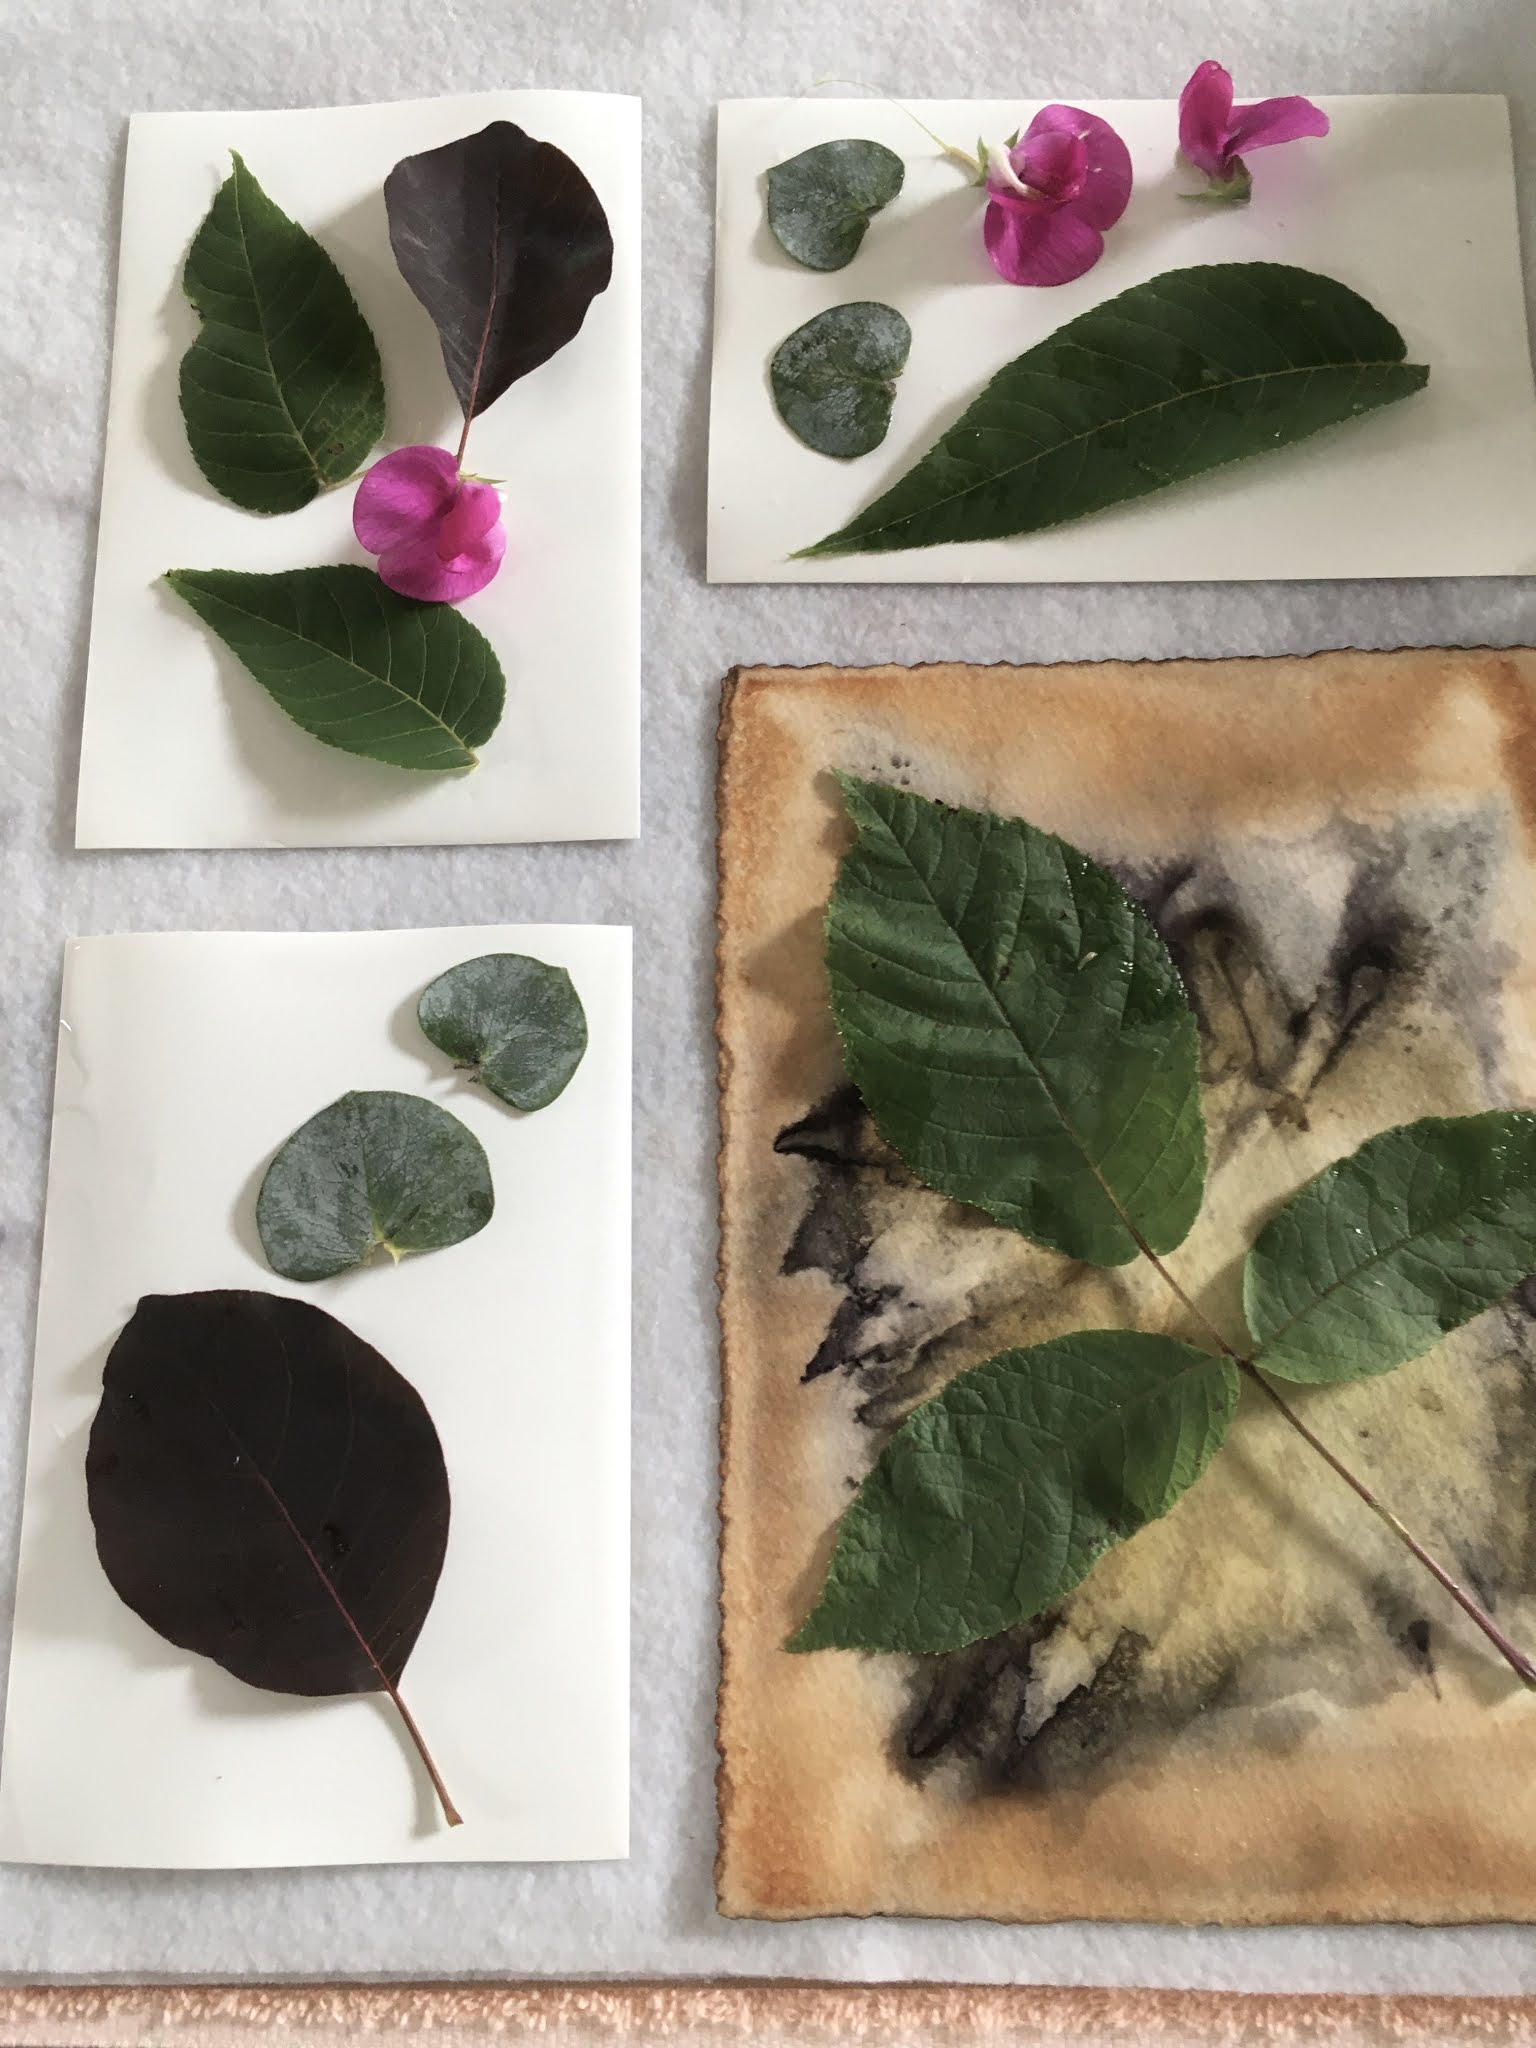
Top example is foliage laid on Kilimanjaro 140 weight paper. In the finished sample below, the flowers did okay, I've seen some great results from other artists....the Rose leaves and Eucalyptus always do well and the Red Bud on top - great!
I had an Arches 300 lb paper which is way overkill but I wanted to try it anyway. I also had a Stonehenge 140 weight which is a great weight for this technique. Top photo is the foliage already printed but not removed from paper ...below is the printed image finished.
This is an interesting sample (below) ...left is foliage and right is finished. Some leaves were along the road and I had no idea how they would do. The little blobs of color in the upper left came from a wild flower, some ferns and the bottom are from the Smoke plant. For best results, the most printable side is the "moon" side or the underneath side...not the sun side.
You can see the difference in the print. With the Smoke leaf plant, the 2 leaves slanted towards to right were placed with moon side down; the two slanted towards the left were placed with the sun side down. There's a big difference in the quality of the print or the intensity of color I should say. Some might prefer the more subtle look like you see on the left slanted ones.
This was a good print and I like the look of imperfect leaves. I don't know what leaves some of these are but I understand there's an app that can be used by pointing it at the plant and it will tell you what it is. Think that's on my list to get.
There was a lot of blurring on this print and I don't know why. I used a Dick Blick watercolor paper. I don't know the weight, but most are @ 140 lb.
Some Red Buds, Smoke leaves, and pine needles. I was surprised at the needles and love the the way they printed. The bottom print uses some flowers which I was anxious to try...I'm pleased and I like the clarity of the edges. Hope to get more done this week as my calendar isn't too filled up yet. Will keep you posted.